
Pinterest is a tool that can be used by many people. Many use it to get ideas for their future homes, their wedding day plans, Do It Yourself (DIY) projects, and pretty much anything people want on their board. It can be used by teachers in the classroom for many reasons as well. Some ways using this tool in the classrooms are:
- Students can create a board for an assignment given. They can then pin ideas, videos, pictures, anything that can be of use for their assignment.
- Teachers can find lesson plans and gather ideas for teaching their own students.
- Once teachers create an assignment, they are able to pin it and share it with other teachers.
- Students can make their group work visual and share it for presentations along with links to papers, resources, and research.
- Students can use as a photo journal.
- Teachers can find new books to recommend for their students.
For my Educational Technology class I decided to do an assignment on adjectives and adverbs. The assignment is an "I Am" Board. Here's how you can do this project as well.
Step 1: Come up with adjectives that describe you. Examples include: handsome, pretty, smart, inventive, etc. Be sure to come up with as many as you believe fit yourself.
Step 2: Gather your supplies. You will need a colorful piece of construction paper, scissor, glue and/or tape. You can use buttons, stickers, glitter, stamps, anything you can think of . Be creative on this and enjoy it!


Step 2: Gather your supplies. You will need a colorful piece of construction paper, scissor, glue and/or tape. You can use buttons, stickers, glitter, stamps, anything you can think of . Be creative on this and enjoy it!
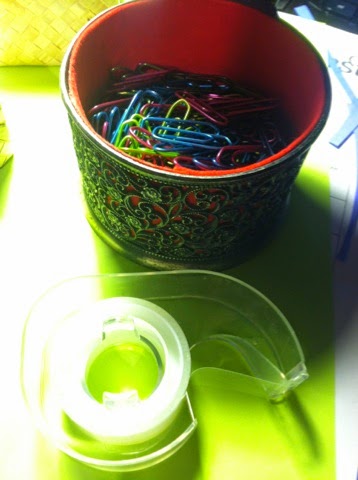
My Supplies:
Step 3: Place or draw a picture of yourself on your board.
Step 4: Entitle your project "I Am". I ended up adding some glitter to mine.

Step 5: Now comes the fun part. Add your adjectives onto your board. Decorate it. Be creative and have fun with it. :)


Here is how my board turned out.


